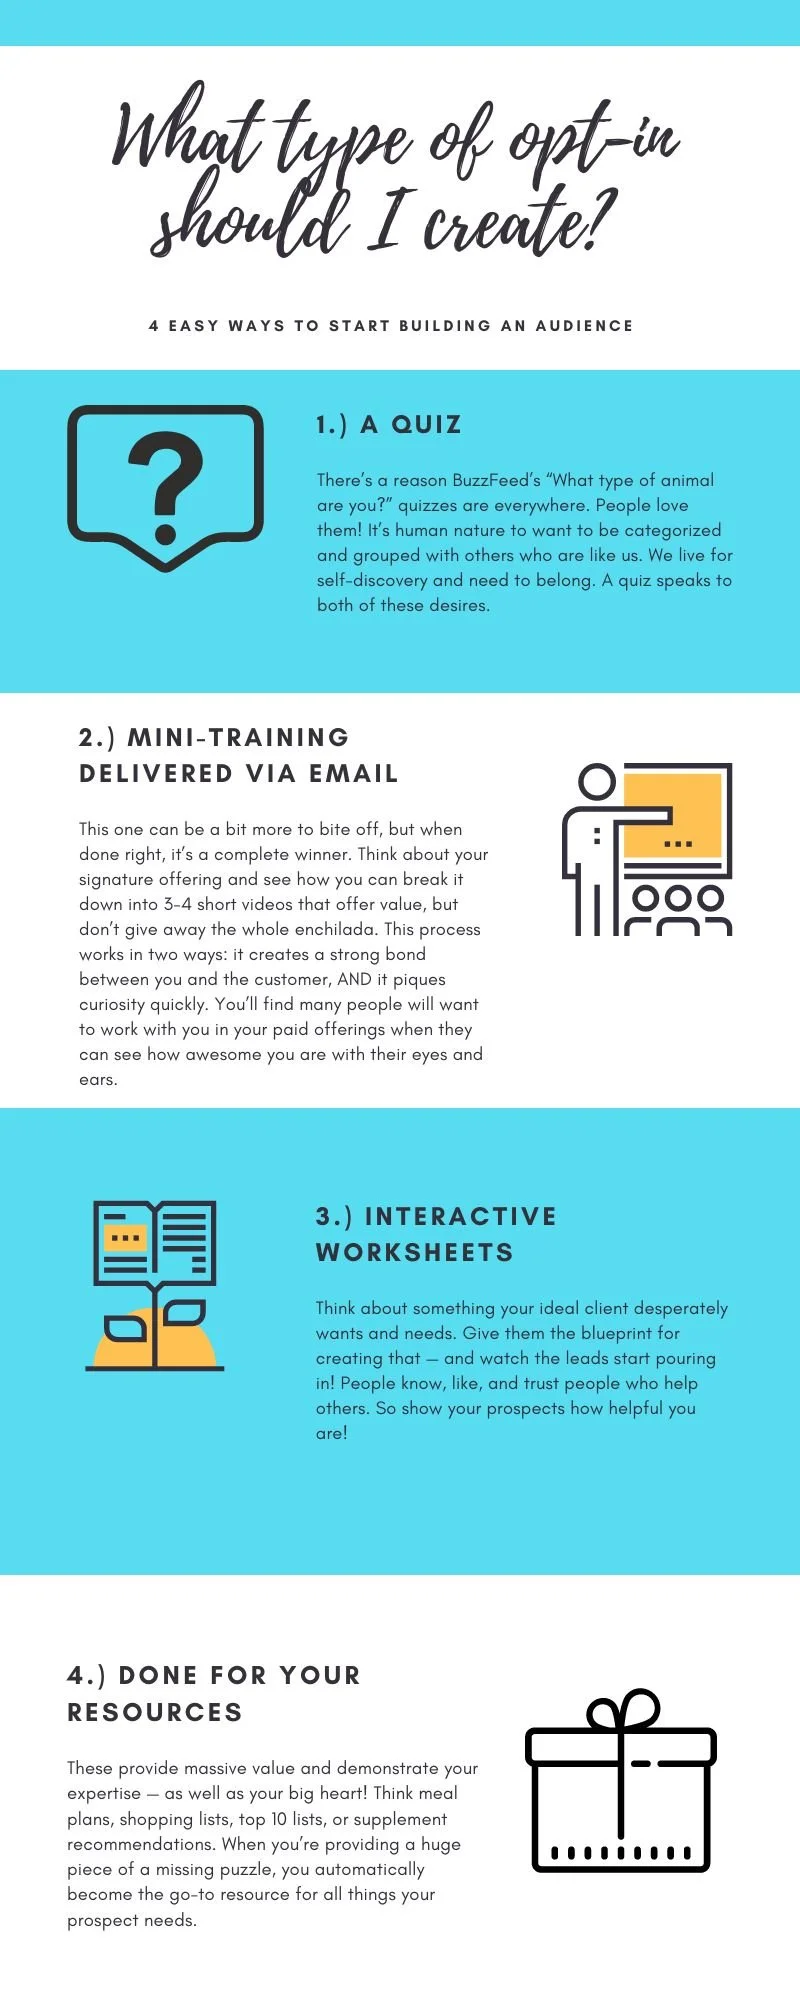
It’s something that you have to have in online business: a lead magnet, opt-in, or freebie. But sometimes getting one up on your website can be challenging. I looked for instructions when setting up mine and couldn’t find anything that gave me all the answers, so I’m sharing here in case this can help you set up your lead magnet in Squarespace and deliver with Flodesk like the boss you are.
Since I know you’re eager to figure this out, I’ll just get to it.
Why Choose Flodesk?
As an email marketer, you may be curious to know which email service provider (ESP) I chose for my own business.
I personally selected Flodesk because it’s a woman-founded business, and I like to support women in business whenever I can.
Also, I love that it’s easy to use, and has beautiful pre-made templates.
Plus — my clients use ActiveCampaign, Klayvio, or ConvertKit, and I wanted to play around with something different and be prepared if a client came to me with Flodesk in mind.
Click here to try Flodesk for yourself and save 50% off your first year!
First, Create Your Lead Magnet
For the purpose of this guide, I’ll assume you’ve already got your lead magnet prepared. But just in case, here’s a list of ideas to get you started.
Upload Your Optin As A File To Your Squarespace Site (here’s how I did it):
Create a page (I titled mine Freebie PDF)
Add a text box
Write some text like ‘Here’s the link to the freebie.’ Highlight the text and add a link.
Press the gear button to pull up the link editor and click File on the left side of the box.
Click on ‘upload file’ and navigate to the file you want to use as your lead magnet.
There may be an easier way to do this, but this is what I used to get my PDF uploaded as a Squarespace file.
Navigate To Flodesk And Set Up A Form
Once the file is uploaded to Squarespace, you’ll need to sign in to Flodesk.
After you’ve signed in, you’ll need to click on ‘Forms’ on the top of the page, and then the + New Form button.
Choose a form to customize (I went with inline image III).
This will prompt you to choose a segment. You can create a segment here or choose one you’ve already created. It’s important to choose a separate segment for each lead magnet you have so you can send customized email messaging to each portion of your audience. Even if you only have one lead magnet right now, you’ll want to set up a segment for later on down the road!
4. From there, customize the form. The one I chose allows you to have a self-segmenting section, where your leads have the ability to say what they’re most interested in when it comes to your content. I love this because again, I love segmenting!
5. When you’re done, click next in the top right corner.
6. Flodesk will ask you if you want to enable a double opt-in. This has been shown to decrease conversions, so my recommendation is NOT to do this.
7. You then have the option to display a thank you message or redirect to a URL. If you want to redirect to a URL, then go back to Squarespace, navigate to the page you created earlier (the one with the link to the freebie!), and copy that URL into Flodesk.
Go Back To Squarespace And Publish Your Flodesk Form
Once your form is ready, you can publish it either on the page you created with the link to your file, or on a separate page. I created a separate page just because I thought it was cleaner. Again, there may be an easier way to do that, but it was what I found that worked.
On this new, preferably blank page, you’ll need to copy and paste BOTH the header code and inline code from Flodesk.
To access the header code, select the page name on the left-hand side of your site. Then click on the gear icon and choose ‘advanced.’ Copy and paste the header code in the box.
Then, go back to Flodesk, copy the inline code, and paste it into a new “code” box on your Squarespace site.
Your shiny new form should show up!
High fives!
Now, Head Back Over To Flodesk To Set Up Your Workflow
Click on workflow on the top of your screen, then the + New Workflow button.
Choose an email to customize, and then click on the +add trigger button at the top of the workflow page.
A menu will pull up on the right-hand side of your screen that will walk you through how to set up delivery of your workflow emails. You can customize which segments you want to send your flow to, and decide how long you want to wait in between email sends.
You’ll need to set up a new workflow for each lead magnet you have.
And make sure you add the link from your Squarespace site in the first email so your subscribers can navigate to the freebie.
Want to write a kickass welcome sequence to make sure your new subscribers bond with you for life? Click here to read the guide.
Need Help Setting Up Lead Magnets, Segments, Welcome Sequences, or Flows?
I hope this guide has helped you! But if you feel like you need a little more support, just pop a few details into this form and I’ll be in touch.
